One of the fun things that a lot of outdoor enthusiasts do is take a camera with them. Nature offers many beautiful scenes and its nice to be able to capture and share them. But how do you get into photography? well its quite an easy hobby to get into and probably cheap than you think, just don’t expect to be the words greatest photographer right out of the gate.
The most obvious step would be to go out and buy a new DSLR or mirror less camera; But you’d be wrong. More expensive gear does not automatically equal better photos. A cheap camera in the hands of a professional will be more effective than an expensive one in the hands of an amateur. You will want to start with the basics just on your phone, learn all about composition. There are loads of online resources for guides on composition. Composition is the framing of your photography i.e. where things are positioned, foreground and background etc. The most basic and common composition technique is called ‘the rule of thirds’.
The Rule of thirds is fairly simple. Firstly use the grid overlay on your camera, this breaks your view up into a grid of three row and three columns. Now put a point of interest on one of the points where the grid lines cross. That’s it, that’s the rule of thirds. The most basic of composition techniques.
Long exposure photography
A photography style you have undoubtedly seen already is the long exposure. Waterfall photographs where the water is that soft milky colour is what we’re talking about. This is achieved by leaving the camera open for an extended amount of time, increasing the exposure time of the photograph hence ‘long exposure’. Most camera allow exposure times up to 30 seconds.
The number one most critical piece of equipment you will need for a long exposure though is a tripod. Blurry photos are the result of the exposure time being too long for whatever is moving, in the case of a long exposure without a tripod, everything in your frame is moving. resulting is one very blurry photo. A tripod ensures your camera is perfectly still while taking the long exposure.
The next important piece of equipment for long exposures are ND(Neutral Density) filters. Filters are a great tool for photographers, and have many different applications, ND filters however let less light through the lenses without altering colour. Think of them as sunglasses for your lenses.
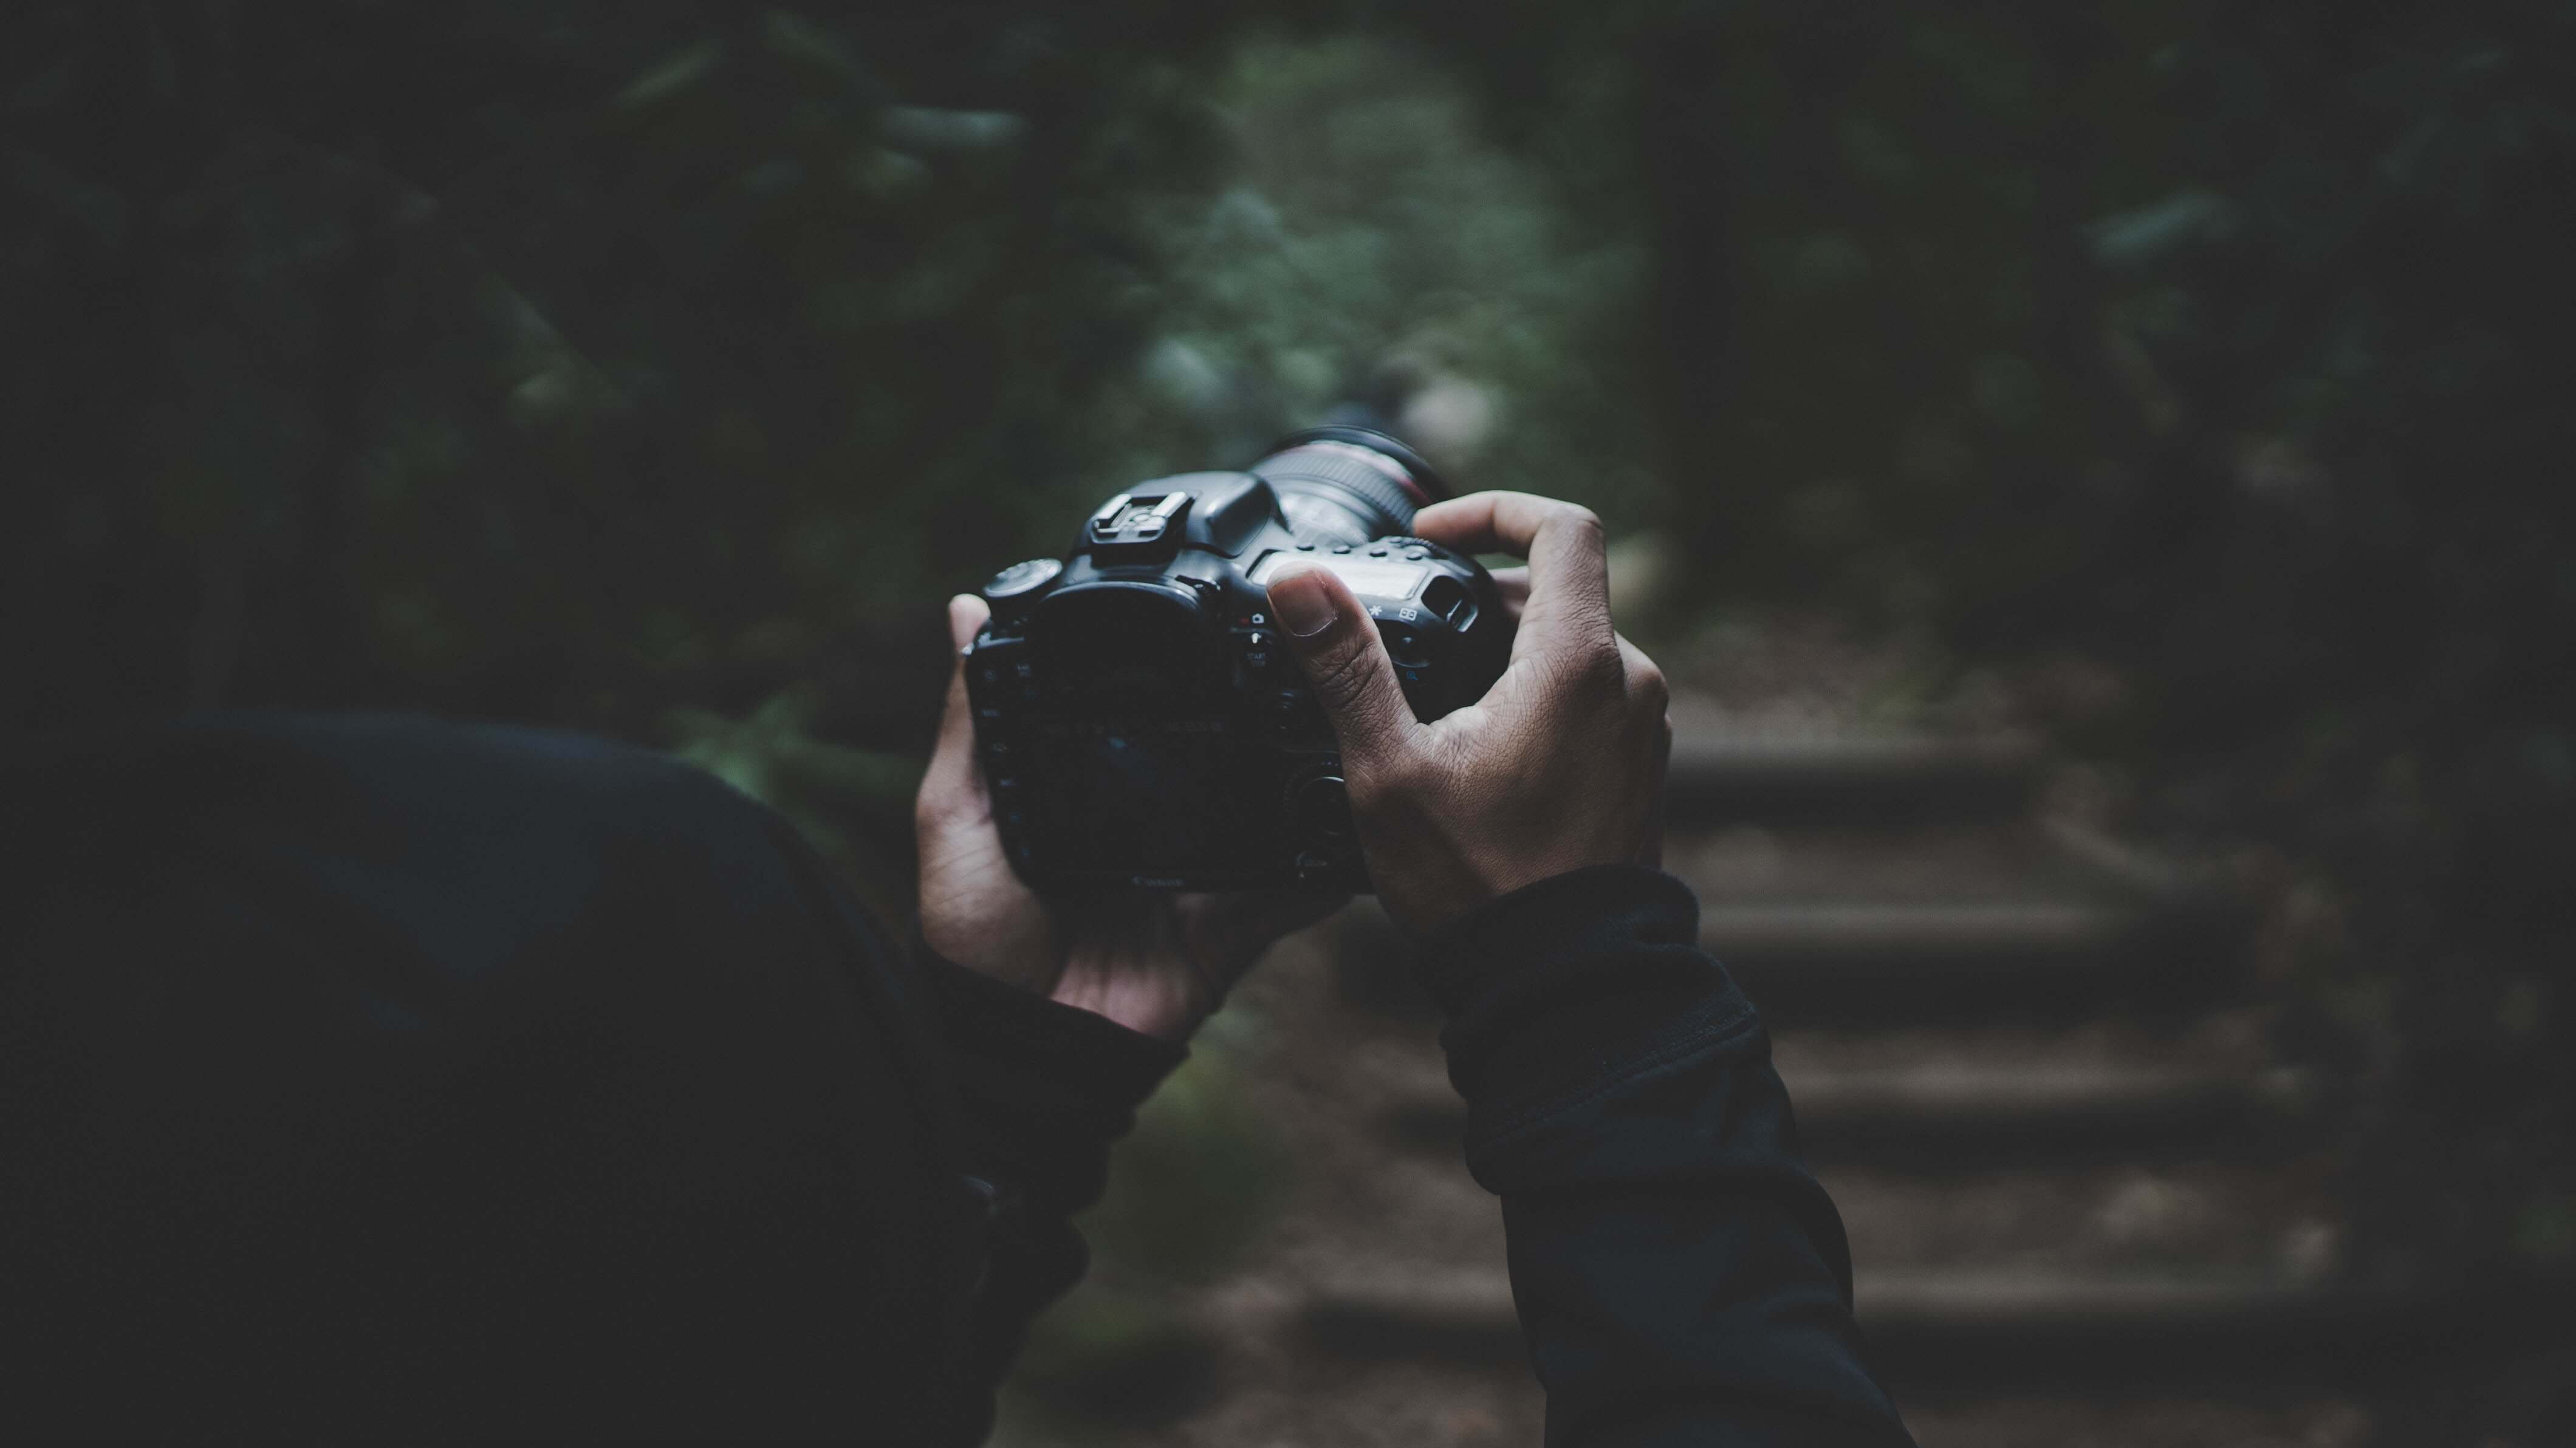
Picking a starter camera
Once you’ve decided that photography is for you then go out and get yourself a camera!
But what camera do I get?
There is no prefect answer to this question. It all comes down to how much money you want to drop into this from the start and somewhat down to personal preference. What I would suggest though is going for an entry level camera that comes with a kit lenses. This is your run of the mill DSLR or mirror-less camera with an 18mm-55mm lenses, a good all-rounder so to speak. This lenses will get some wide angles for your landscapes and an okay focus length for portraits. These camera body and lenses kits usually come in around the $400-$500AUD range.
Where to shoot?
Not sure where to go practice? you’re in luck. Head on over to Our walks page and browse our list of bush walking locations. We also feature loads of local photographers on on our instagram too for some inspiration. So when you start shooting make sure to tag your photos with #pioneerwalk so we can share your journey too!